
How to Compress or Reduce the Size of Screen Recordings (Without Losing Quality)
Learn how to compress and reduce the size of screen recordings without sacrificing too much quality. This guide covers practical ways to lower resolution, adjust frame rates and bitrate, trim unnecessary footage, choose the right format, and make screen recordings easier to upload and share. It also explains how Glooin simplifies screen recording and sharing through quick, link-based workflows.
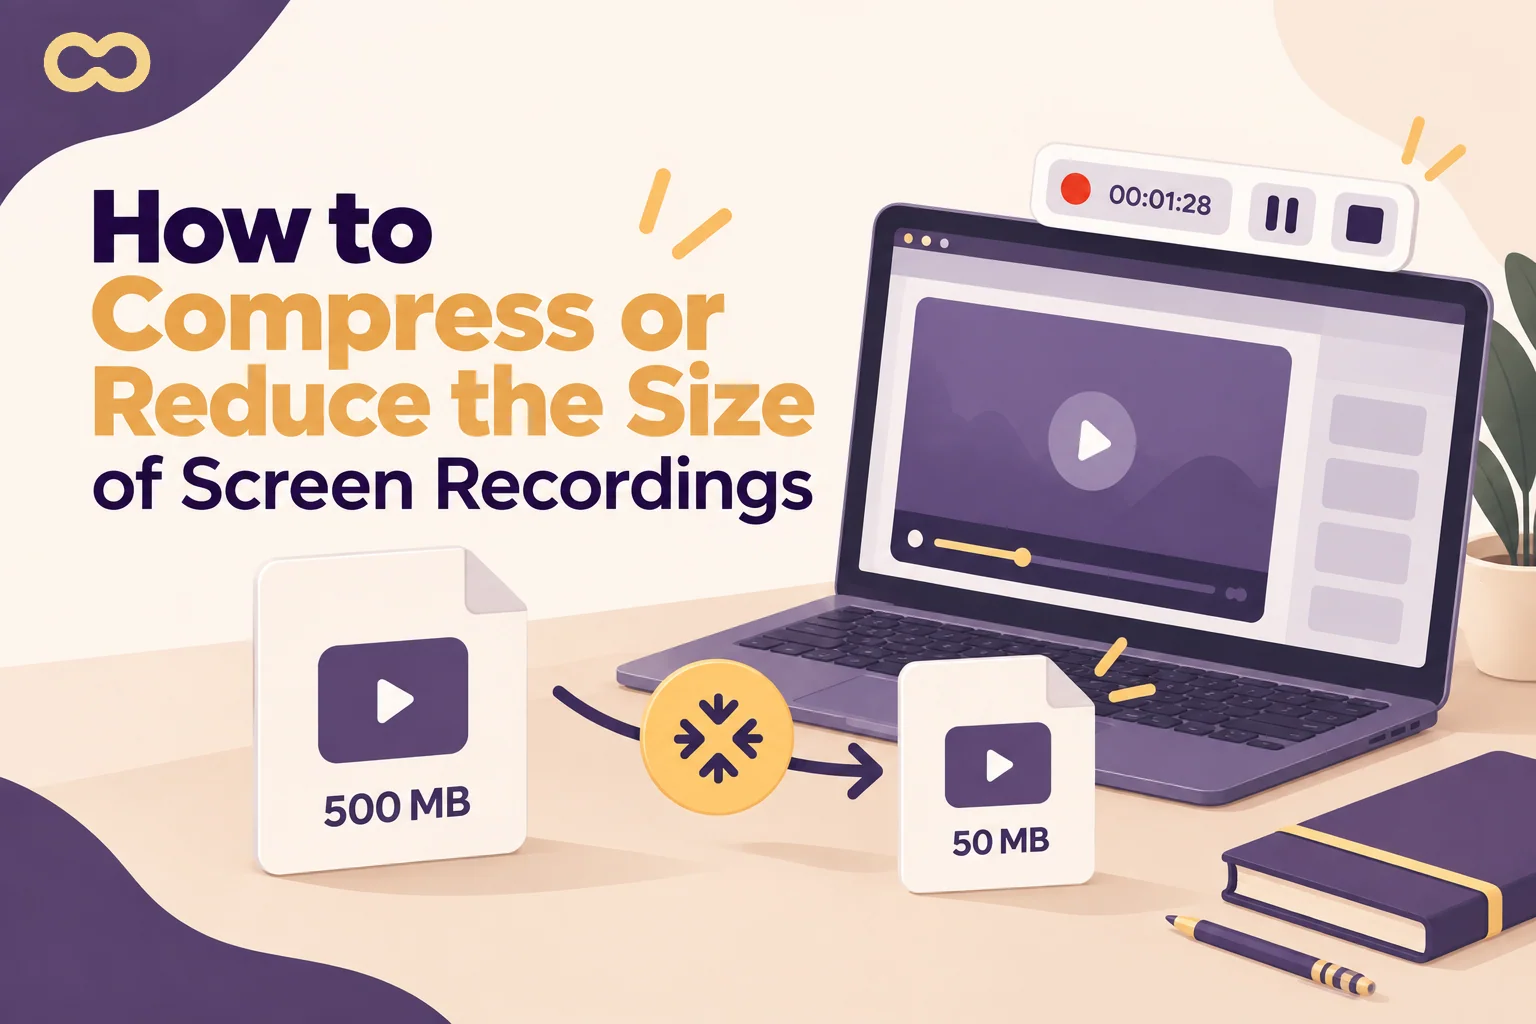
Table of contents
Screen recordings are one of the easiest ways to explain a process, report a bug, create a tutorial, or share a product demo. But there is one common problem: large video files.
A short screen recording can quickly become hundreds of megabytes, making it difficult to upload, email, store, or share.
The good news is that you don't always need to sacrifice video quality to reduce the file size. With the right recording settings and compression methods, you can create smaller, easier-to-share videos.
In this guide, we'll explain how to compress screen recordings, reduce video size, and avoid unnecessarily large files.
Why Are Screen Recordings So Large?
Screen recordings capture a lot of visual information.
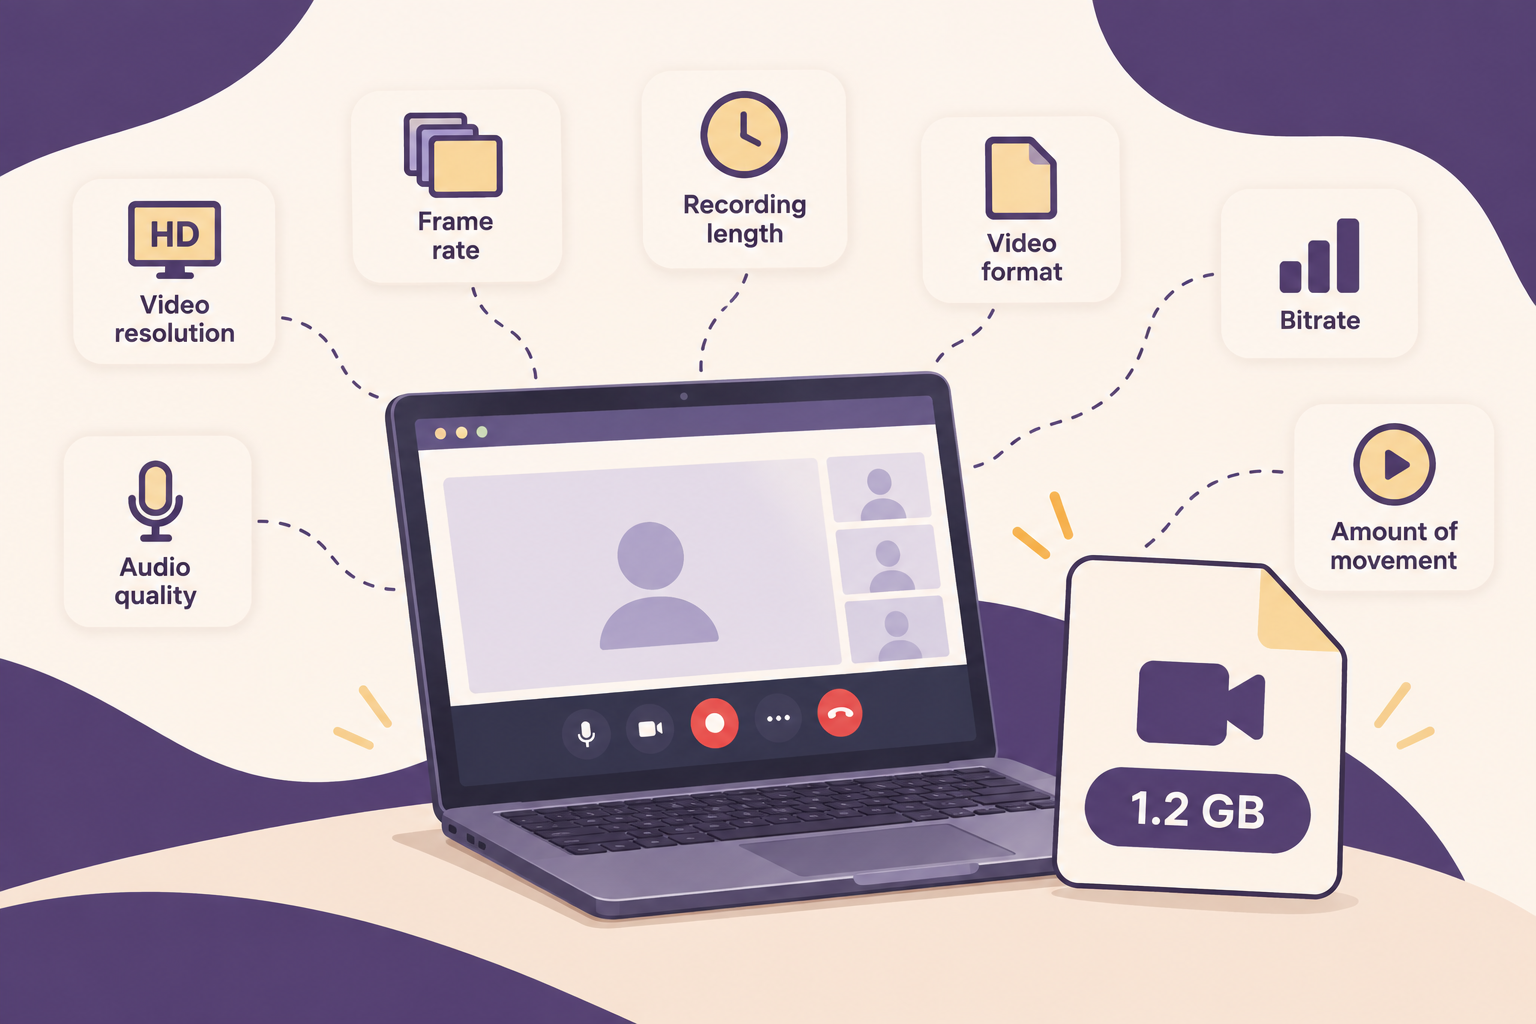
File size is mainly affected by:
Video resolution
Frame rate
Recording length
Video format
Bitrate
Audio quality
Amount of movement on the screen
For example, a 30-minute recording in high resolution can be significantly larger than a short 720p tutorial.
If you're recording a simple software walkthrough, you may not need extremely high resolution or frame rates.
1. Reduce the Recording Resolution
One of the easiest ways to reduce screen recording size is to lower the resolution.
For example:
1080p → 720p
A 720p recording can be much smaller while still looking clear enough for tutorials, software demonstrations, presentations, and team updates.
If your recording mainly shows browser windows, dashboards, documents, or software interfaces, 720p is often sufficient.
However, if you're recording detailed design work or content where small text needs to remain sharp, 1080p may be preferable.
2. Lower the Frame Rate
Frame rate determines how many images are captured every second.
Common options include:
24 FPS
30 FPS
60 FPS
For most screen recordings, 30 FPS is enough.
You usually don't need 60 FPS for:
Software tutorials
Bug reports
Product demonstrations
Team updates
Customer support videos
Website walkthroughs
Using a lower frame rate can help reduce the amount of data your recording needs.
3. Keep Recordings Short and Focused
Another simple way to reduce file size is to avoid recording unnecessary content.
Instead of creating one 30-minute recording, consider creating several focused recordings.
For example:
Large recording:
"Complete Website Update – 30 Minutes"
Smaller recordings:
Homepage changes – 3 minutes
Mobile changes – 2 minutes
Checkout update – 2 minutes
Shorter recordings are not only smaller but also easier for viewers to understand.
This is particularly useful for asynchronous communication. A focused screen recording can communicate an idea without requiring a meeting or a long explanation.
Glooin's blog on Async Standups and 90-Second Screen Recordings explores how short recordings can be used for quick team updates.
4. Choose the Right Video Format
The format you use can also affect file size.
Modern formats such as MP4 with efficient video codecs can provide a good balance between quality and file size.
When exporting a recording, look for settings that allow you to control:
Resolution
Bitrate
Frame rate
Codec
Audio quality
If you're unsure which settings to choose, start with 1080p or 720p at 30 FPS and adjust based on the final file size.
5. Reduce the Bitrate
Bitrate controls how much data is used to store the video every second.
Higher bitrate generally means:
Better quality + larger file
Lower bitrate generally means:
Smaller file + potentially lower quality
For a screen recording containing mostly static interfaces, text, and simple movements, you may be able to reduce the bitrate without creating a noticeable quality difference.
The goal is to find a balance where the recording remains readable without storing unnecessary data.
6. Compress an Existing Screen Recording
Already have a large recording?
You don't necessarily need to record it again.
You can use a video compression or editing tool to reduce:
Resolution
Bitrate
Frame rate
Audio bitrate
Unnecessary sections
For example, if a 500 MB recording contains several minutes of unused footage, trimming those sections first can reduce the final file size.
A good workflow is:
Trim → Resize → Compress → Export
Always check the final video before deleting the original.
7. Remove Unnecessary Audio
Audio can also contribute to file size, although video usually accounts for the majority of the data.
If your recording doesn't need audio, removing it can make the file smaller.
For example, a simple visual bug report may not need voice narration if the problem is clearly visible.
For tutorials and demonstrations, however, keeping narration can be valuable because it helps explain what viewers are seeing.
8. Don't Record at Higher Quality Than You Need
One of the biggest mistakes people make is recording everything at maximum quality.
Ask yourself:
Does the viewer actually need 4K?
For most workplace screen recordings, probably not.
If you're recording a:
Software demo
Customer support explanation
Bug report
Team update
Onboarding tutorial
Product walkthrough
1080p or 720p is usually more practical than 4K.
The best setting depends on what you're recording and how viewers will use the video.
An Easier Way to Share Screen Recordings
Compression isn't always necessary when the biggest problem is simply sharing a large video file.
This is where a tool like Glooin can make the workflow easier.
Instead of recording a video, saving a large file, finding storage, uploading it, and then sending the file, Glooin is designed around a simpler workflow:
Record → Share → Collaborate

Glooin lets you record your screen and share the recording through a link, making it easier to send visual explanations without relying on large email attachments.
For teams, this can be especially useful for bug reports, product demonstrations, design feedback, tutorials, customer support, and project updates.
You can also explore Glooin's guide on 10 Ways Teams Can Use Screen Recording at Work.
When Should You Compress a Screen Recording?
Compression makes sense when:
You need to upload the video somewhere
You need to send the file directly
Storage space is limited
Your video is unnecessarily high quality
The recording is longer than necessary
A platform has an upload-size limit
But if your main goal is simply to record and share an explanation, a link-based screen recording workflow can be more convenient.
For example, Glooin can be useful when you're sending a quick product walkthrough or bug report instead of attaching a large video file.
You can also read How to Screen Record With Audio on Mac if you're looking for ways to create screen recordings with audio.
Quick Tips to Keep Screen Recordings Small
Before you hit record, use these simple guidelines:
Choose the right resolution
Use 720p or 1080p when possible instead of recording everything in 4K.
Use 30 FPS
For most tutorials and workplace recordings, 30 FPS is sufficient.
Keep recordings focused
Record only what the viewer needs to see.
Trim unnecessary footage
Remove long pauses, mistakes, and unused sections.
Use efficient formats
Choose modern video formats and codecs when available.
Compress before uploading
If you need to send the actual file, compress it first.
Consider link sharing
If you're only trying to communicate an idea, sharing a recording through a link can be easier than sending a large attachment.
Final Thoughts
Large screen recordings can be frustrating, especially when you're trying to upload or share them quickly.
The easiest ways to reduce screen recording size are to lower the resolution, use a reasonable frame rate, reduce bitrate, trim unnecessary footage, and compress the final video.
However, sometimes the better solution isn't making the file smaller it's avoiding the need to send the file in the first place.
With Glooin, you can record your screen, explain what you're doing, and share the recording through a link. That makes screen recording useful not only for creating videos but also for everyday communication.
Record less. Explain clearly. Share faster.
Explore More Glooin Resources
From Bug Reports to Product Demos: 10 Ways Teams Can Use Screen Recording at Work
Async Standups: Replacing Daily Meetings with 90-Second Screen Recordings
Follow Glooin
Follow Glooin on LinkedIn for screen-recording tips, async-work ideas, and product updates.
You can also follow Glooin on Instagram for quick tips and visual content.